Updating An Entire Image
Overview Process
- Jump the boot jumper pins
- Plug in USB cable
- Start RPIBoot
- Power up unit
- Open RaspberryPi Imager
- Choose the custom image and correct storage of the CM4
- Upload
- Turn off power
- Disconnect USB cable and jumper
Download RPIBoot onto your windows machine using the following auto download link
https://github.com/raspberrypi/usbboot/raw/master/win32/rpiboot_setup.exe
Download RaspberryPI imager from the following link
https://www.raspberrypi.com/software/
Jump the boot jumper pins
To put the CM4 in a bootloader state, these two pins need jumped together.
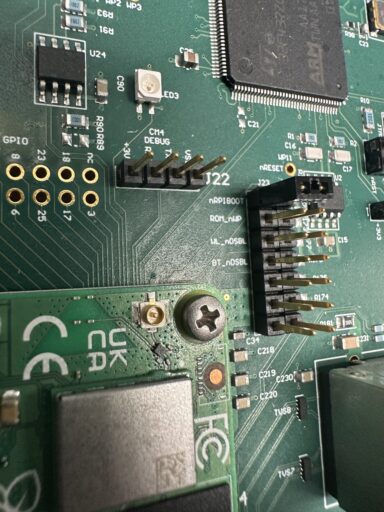
Plug in the USB C cable as shown on the board and the USB A connector to your PC

After installing RPIBoot, go to the search bar and type in RPIBoot
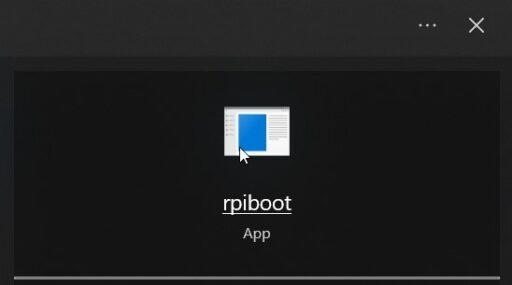
Run the application and a screen will show up that the system is waiting for a device
Ensure the the NGI-5000 is powered down, the jumper is installed, and the USB cable is connected to your PC and the NGI-5000

Power on the NGI-5000 unit
Once the unit is powered up the RPIboot will go through a connecting process, and disappear. Otherwise it will provide an error on the terminal screen.
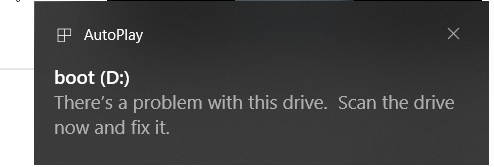
Because the RPI boot puts the device into a boot state, you will likely see a message that says the drive is not working properly. This is normal and is a good indication. Note that yours may show up as a different drive letter.
Our NGI-5000 CM4 is now ready to accept the image.
Go to the search bar and type Raspberry PI imager.
Open the app
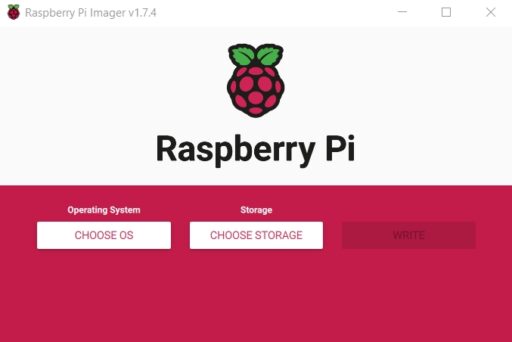
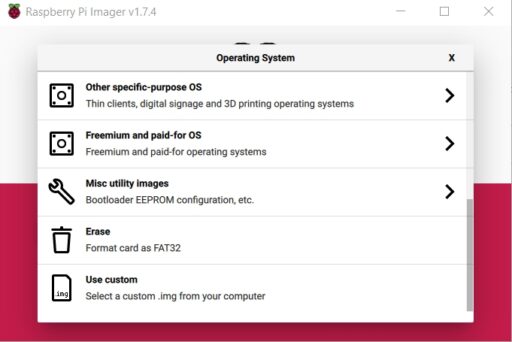
Choose OS by selecting the custom option (scroll down to the bottom)
Select the image that you downloaded onto your file system
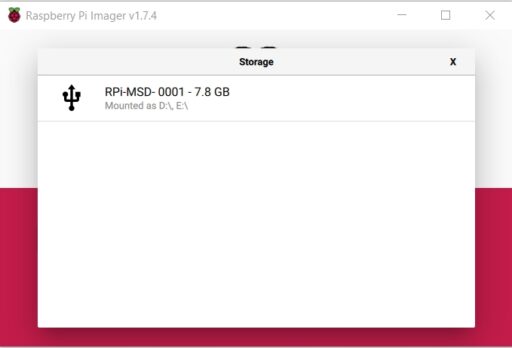
Select the storage device. This will be the device that we booted using RPIboot.
If there are several devices showing up, and you are not sure which one the easiest thing to do is unplug any external media drives while leaving the CM4 USB cable plugged in to your PC. This will insure it is the only available drive to populate for selection.
Click on the Write button. It will take about 25 to 30 minutes for the operation to complete. It is best to also wait the additional 15 minutes to let the verify complete, but in most situations it is okay to cancel the verify as we have not seen any issues canceling this in the past.
Once the operation is complete close the software, and power down the device. Disconnect the USB cable and remove the jumper.
If the jumper is not removed the device will never come out of boot mode, and if the USB is not disconnected it will cause the USB peripherals to not work (like the touchscreen).